VS Code配置LaTeX环境
省流:在VS Code的settings.json里加点东西。
上回说到
先安装TeX Live(若为Windows或Linux)或MacTeX(若为macOS),如果还没安装好,具体可以参考这篇文章。
Windows / Linux
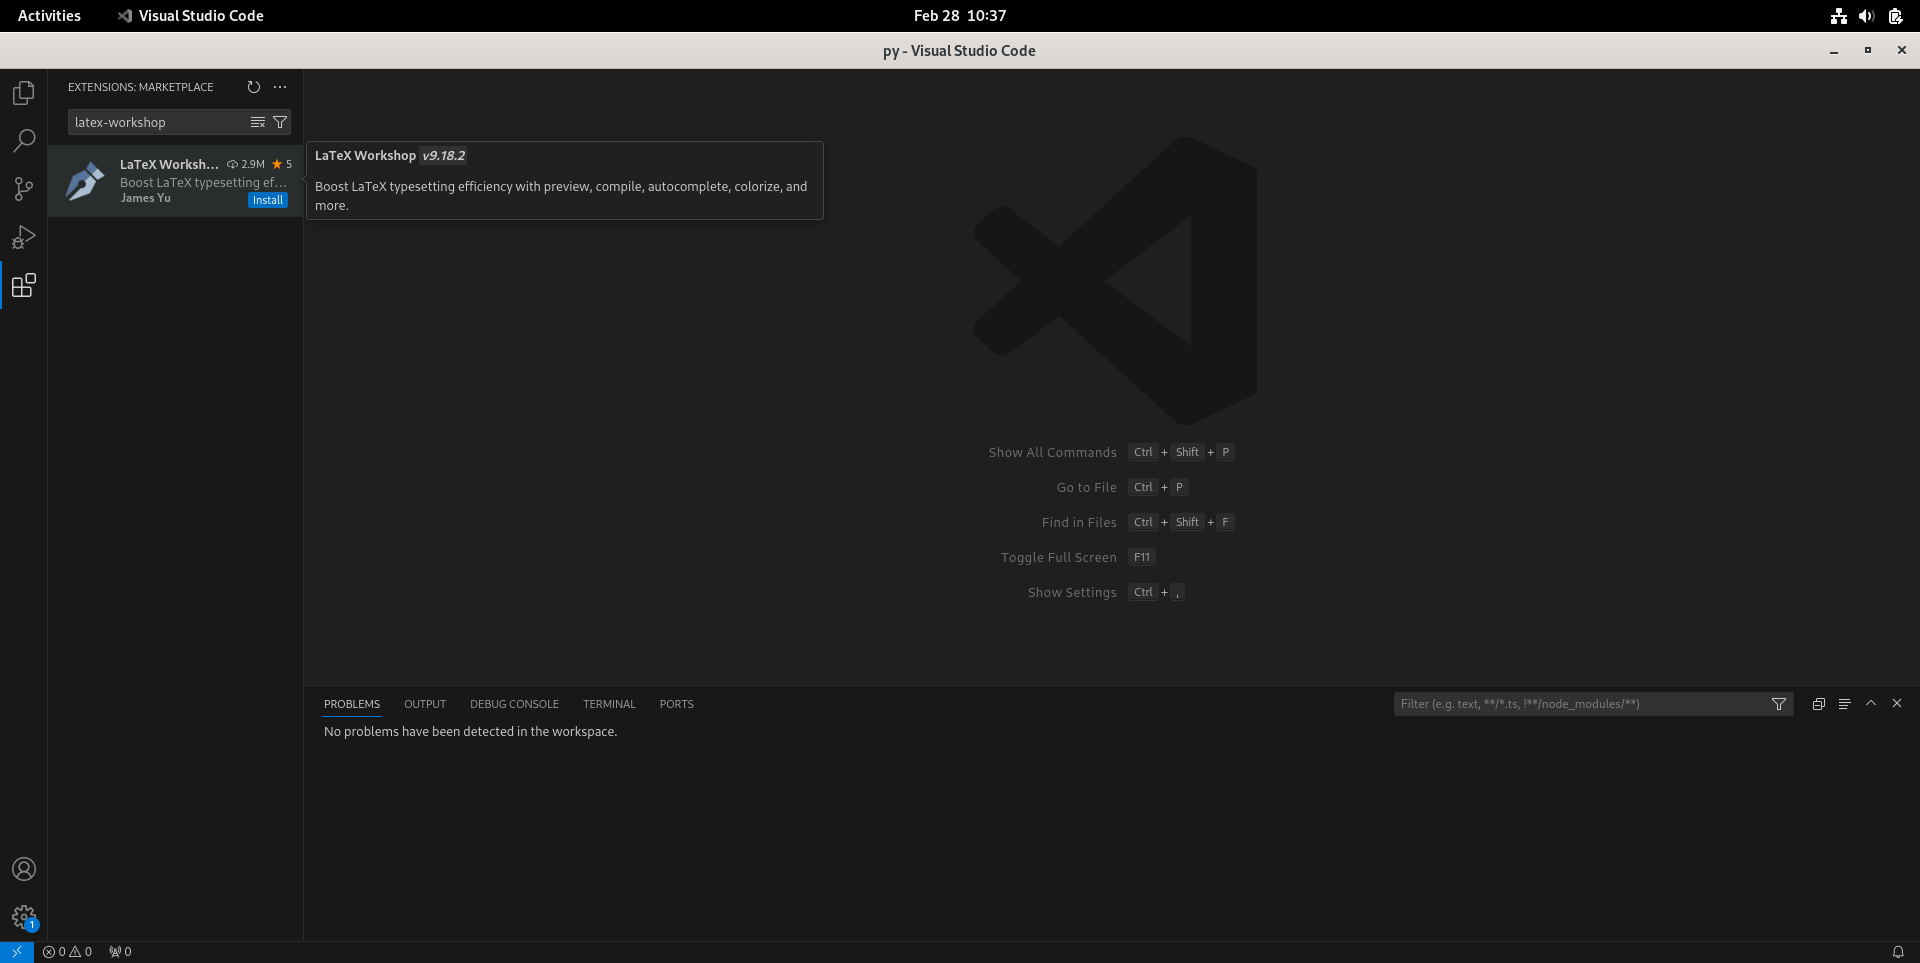
- 按Ctrl+Shift+X键,搜索“latex-workshop”插件并点击“Install”安装。
- 按Ctrl+K Ctrl+O“打开文件夹”(Open Folder),选择或新建一个文件夹,作为用LaTeX写文章的工作区(workspace)。这里以Linux系统下的
~/Documents/tex为例。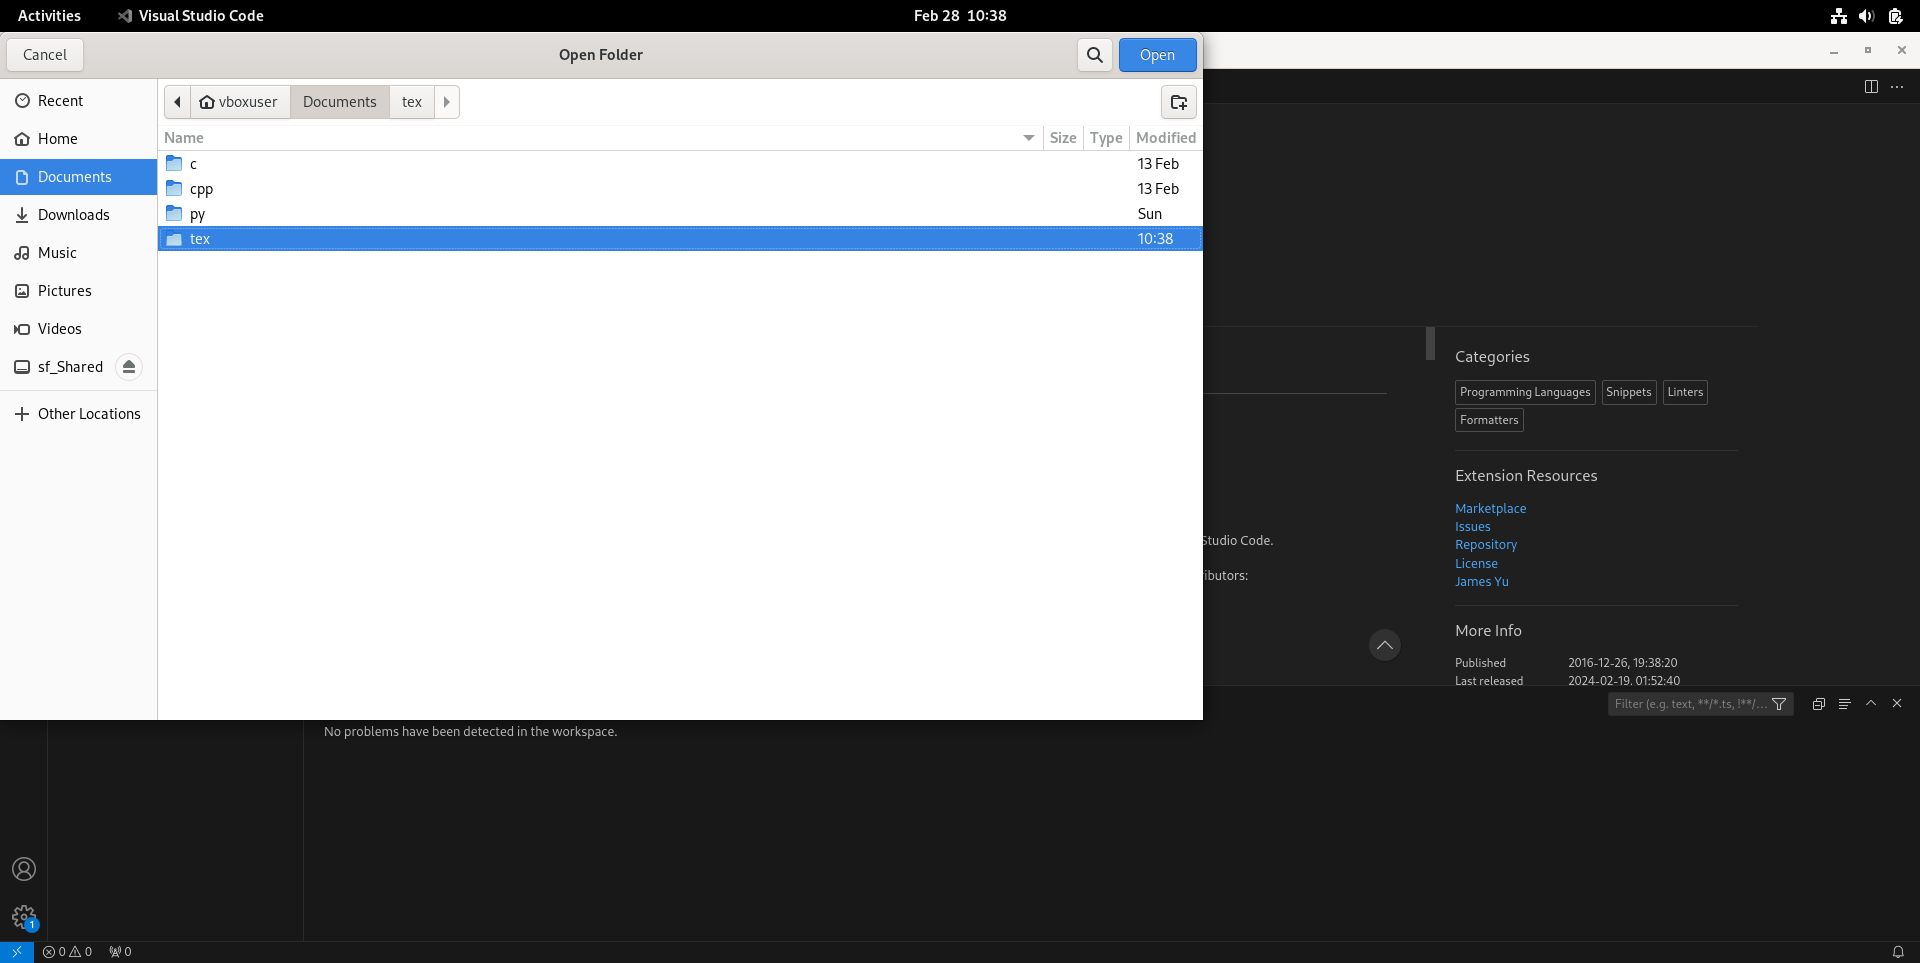
- 按Ctrl+Comma(逗号)键,打开设置(settings),点击右上角最左边图标,打开
settings.json。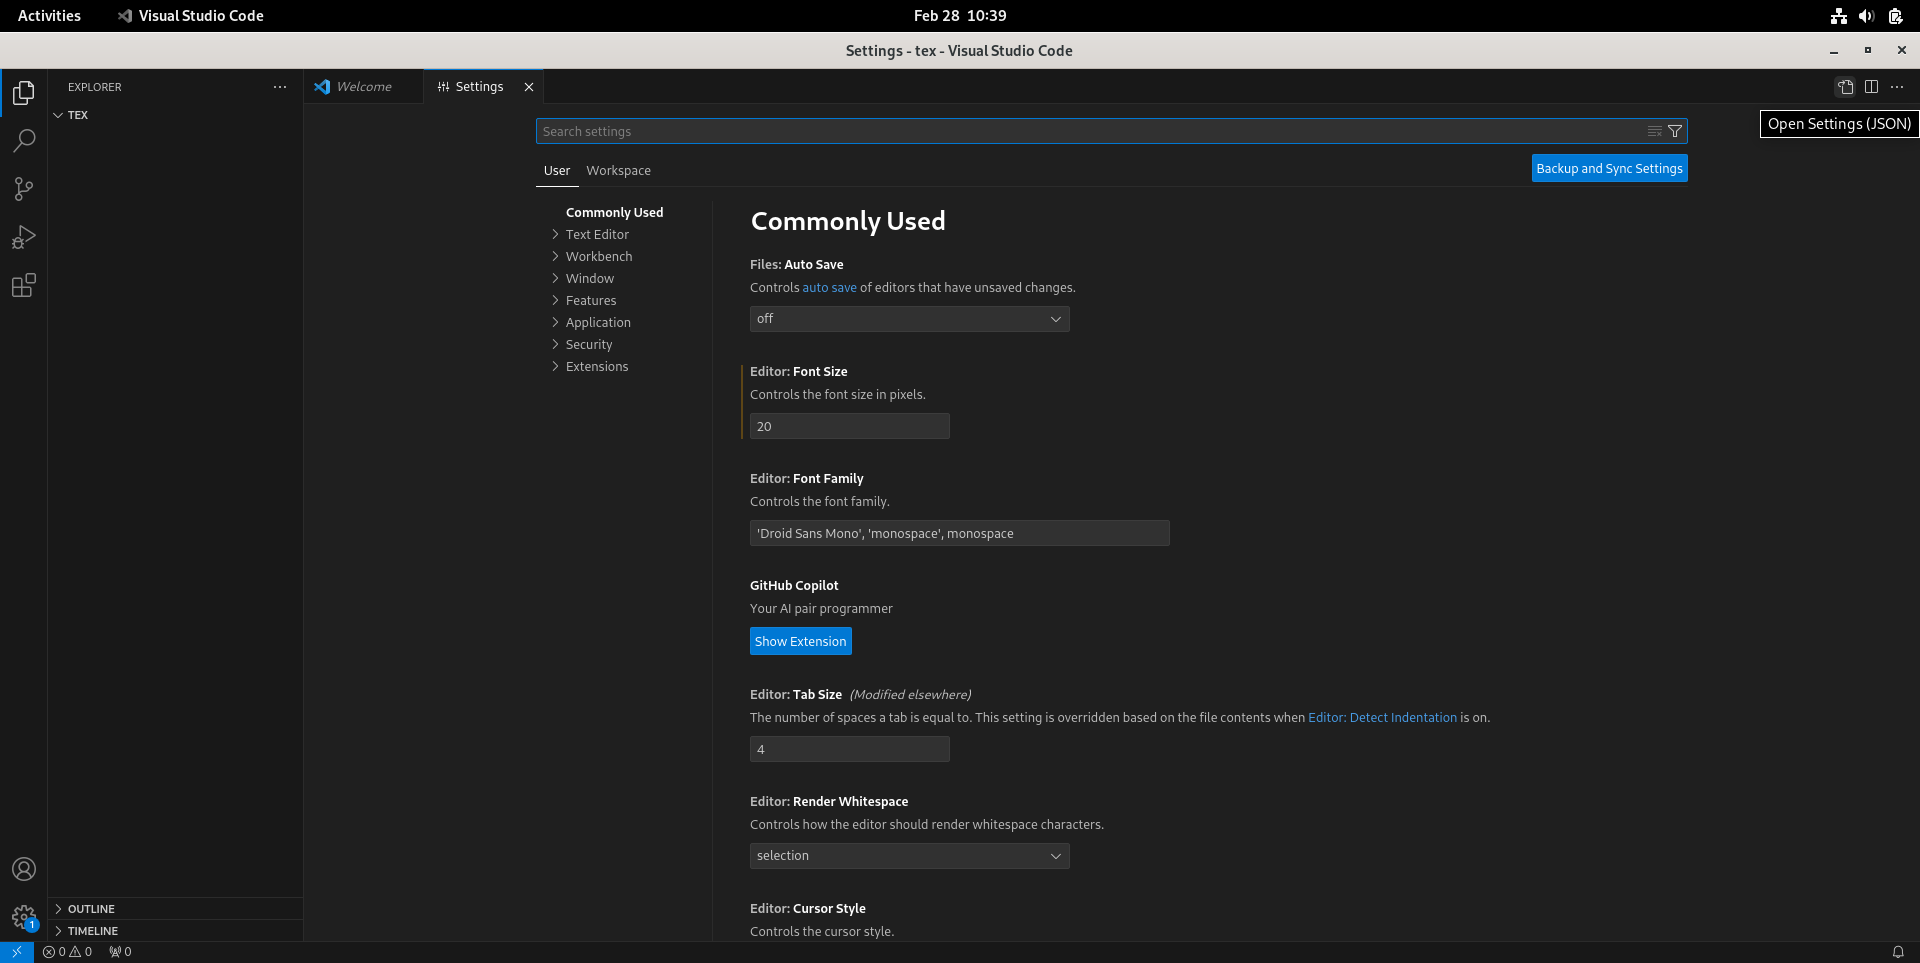
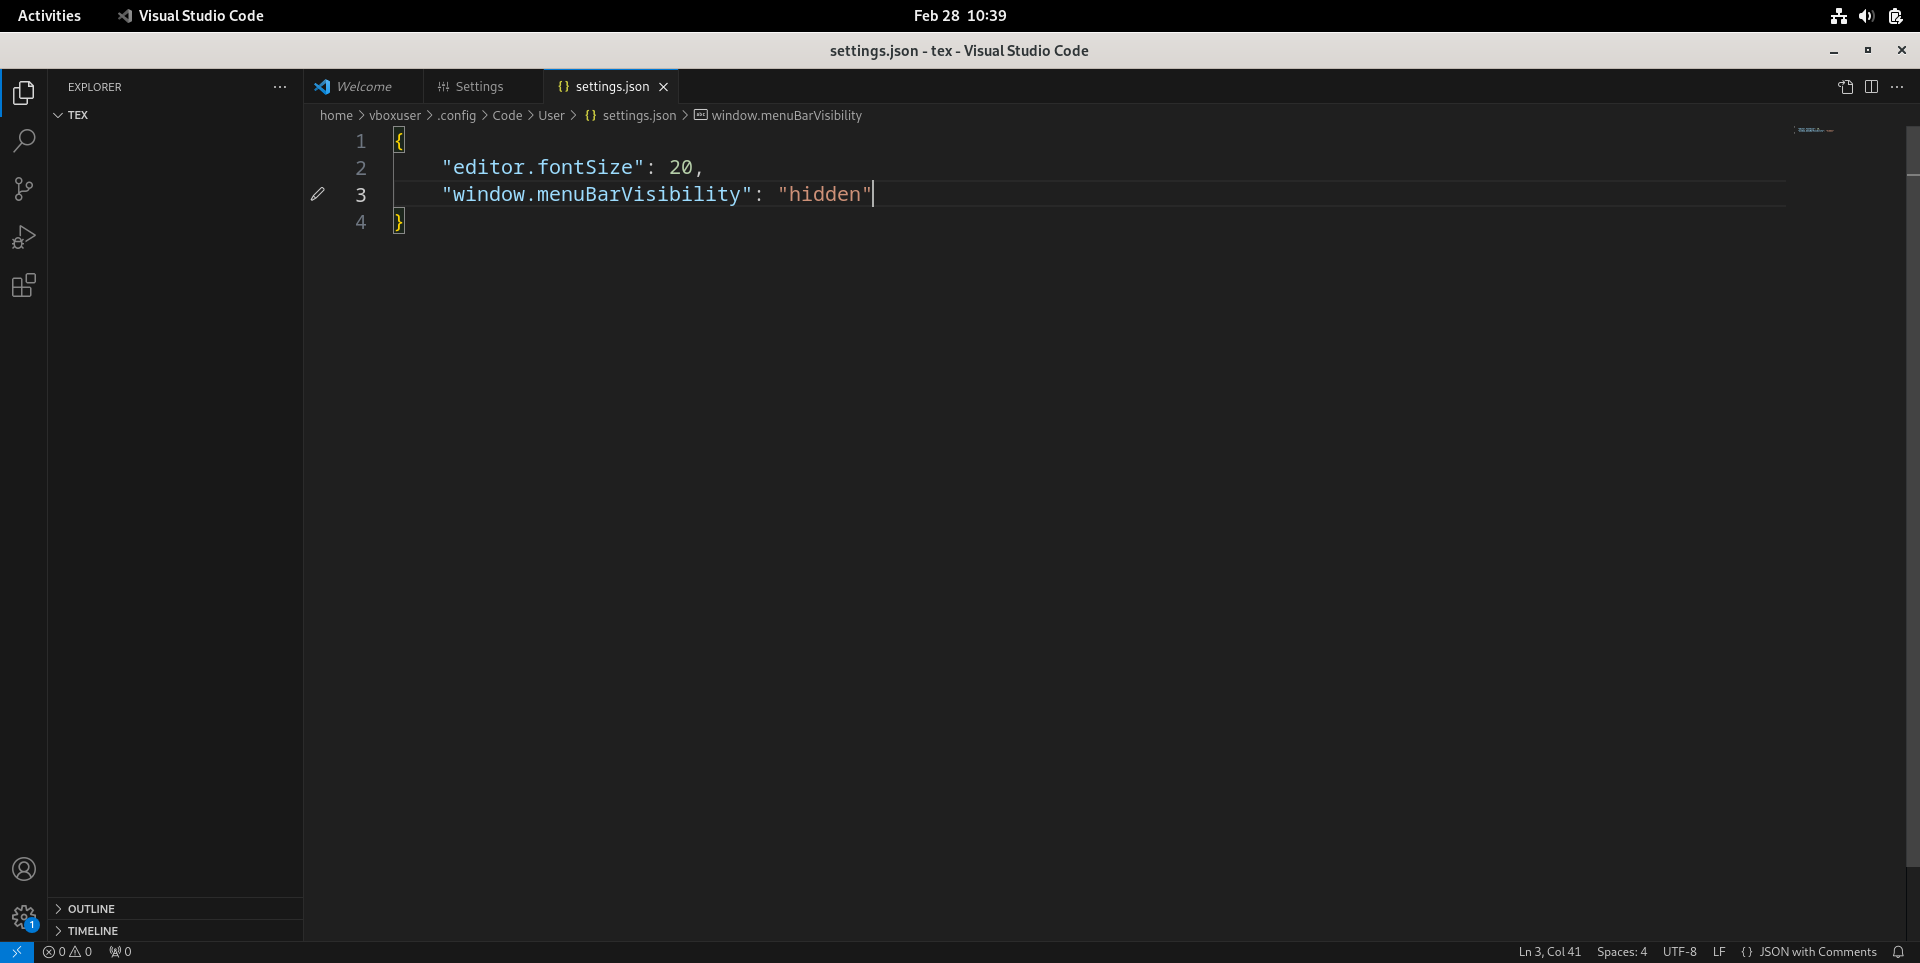
- 如果大括号里面有内容,并且最后一条配置末尾没有逗号,就在末尾加一个英文逗号“
,”。
- 在
settings.json的大括号里添加如下代码(注意缩进)然后按Ctrl+S保存。1
2
3
4
5
6
7
8
9
10
11
12
13
14
15
16
17
18
19
20
21
22
23
24
25
26
27
28
29
30
31
32
33
34
35
36
37
38
39
40
41
42
43
44
45
46
47
48
49
50
51
52
53
54
55
56
57
58
59
60
61
62
63
64
65
66
67
68
69"latex-workshop.view.pdf.viewer": "tab",
"latex-workshop.message.error.show": false,
"latex-workshop.message.warning.show": false,
"latex-workshop.latex.tools": [
{
"name": "xelatex",
"command": "xelatex",
"args": [
"-synctex=1",
"-interaction=nonstopmode",
"-file-line-error",
"%DOCFILE%",
],
},
{
"name": "pdflatex",
"command": "pdflatex",
"args": [
"-synctex=1",
"-interaction=nonstopmode",
"-file-line-error",
"%DOCFILE%",
],
},
{
"name": "bibtex",
"command": "bibtex",
"args": [
"%DOCFILE%",
],
},
],
"latex-workshop.latex.recipes": [
{
"name": "xelatex",
"tools": [
"xelatex",
],
},
{
"name": "pdflatex",
"tools": [
"pdflatex",
],
},
{
"name": "xe->bib->xe->xe",
"tools": [
"xelatex",
"bibtex",
"xelatex",
"xelatex",
],
},
{
"name": "pdf->bib->pdf->pdf",
"tools": [
"pdflatex",
"bibtex",
"pdflatex",
"pdflatex",
],
},
],
"latex-workshop.latex.autoBuild.run": "onFileChange",
"latex-workshop.hover.preview.maxLines": 10,
"latex-workshop.bibtex-format.trailingComma": true,
"latex-workshop.bibtex-format.tab": "2 spaces",
"latex-workshop.intellisense.unimathsymbols.enabled": true,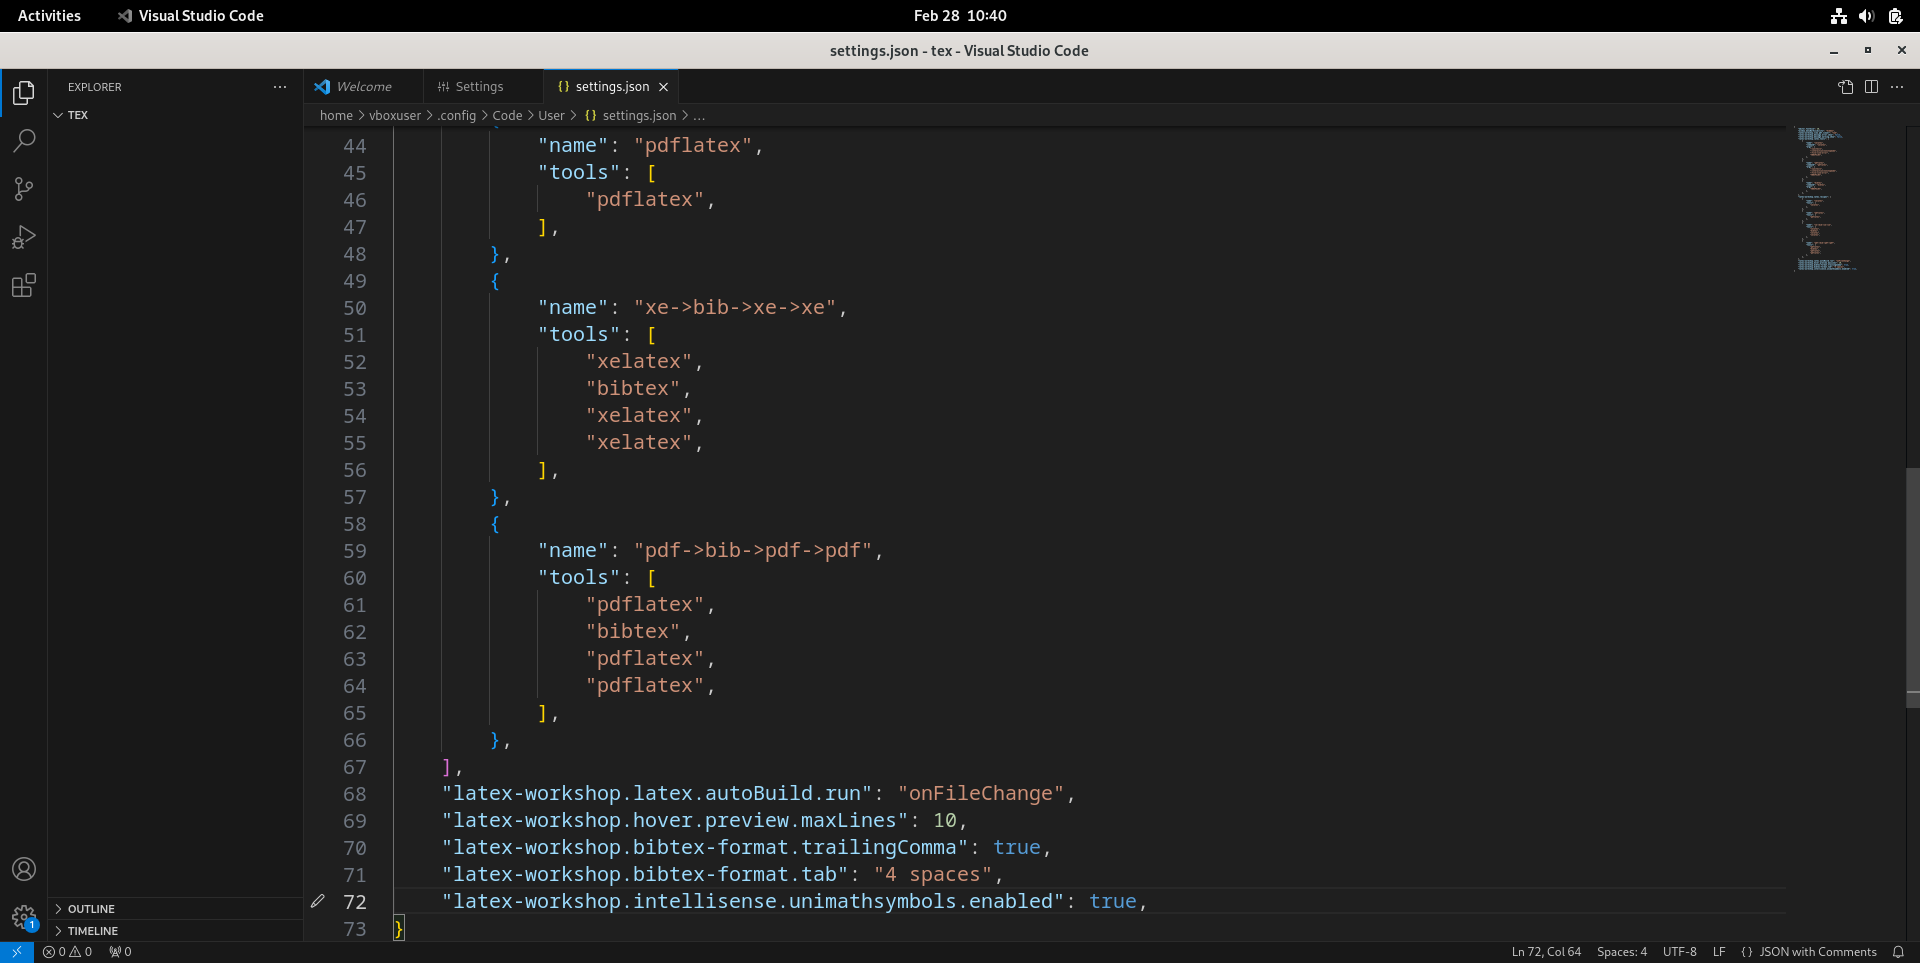
- 在工作区新建一个子文件夹
hello,在里面新建一个文件hello.tex,随便写点东西,比如然后按Ctrl+S保存。1
2
3
4
5
6
7
8\PassOptionsToPackage{quiet}{fontspec}
\documentclass{ctexart}
\begin{document}
hello, world
\end{document}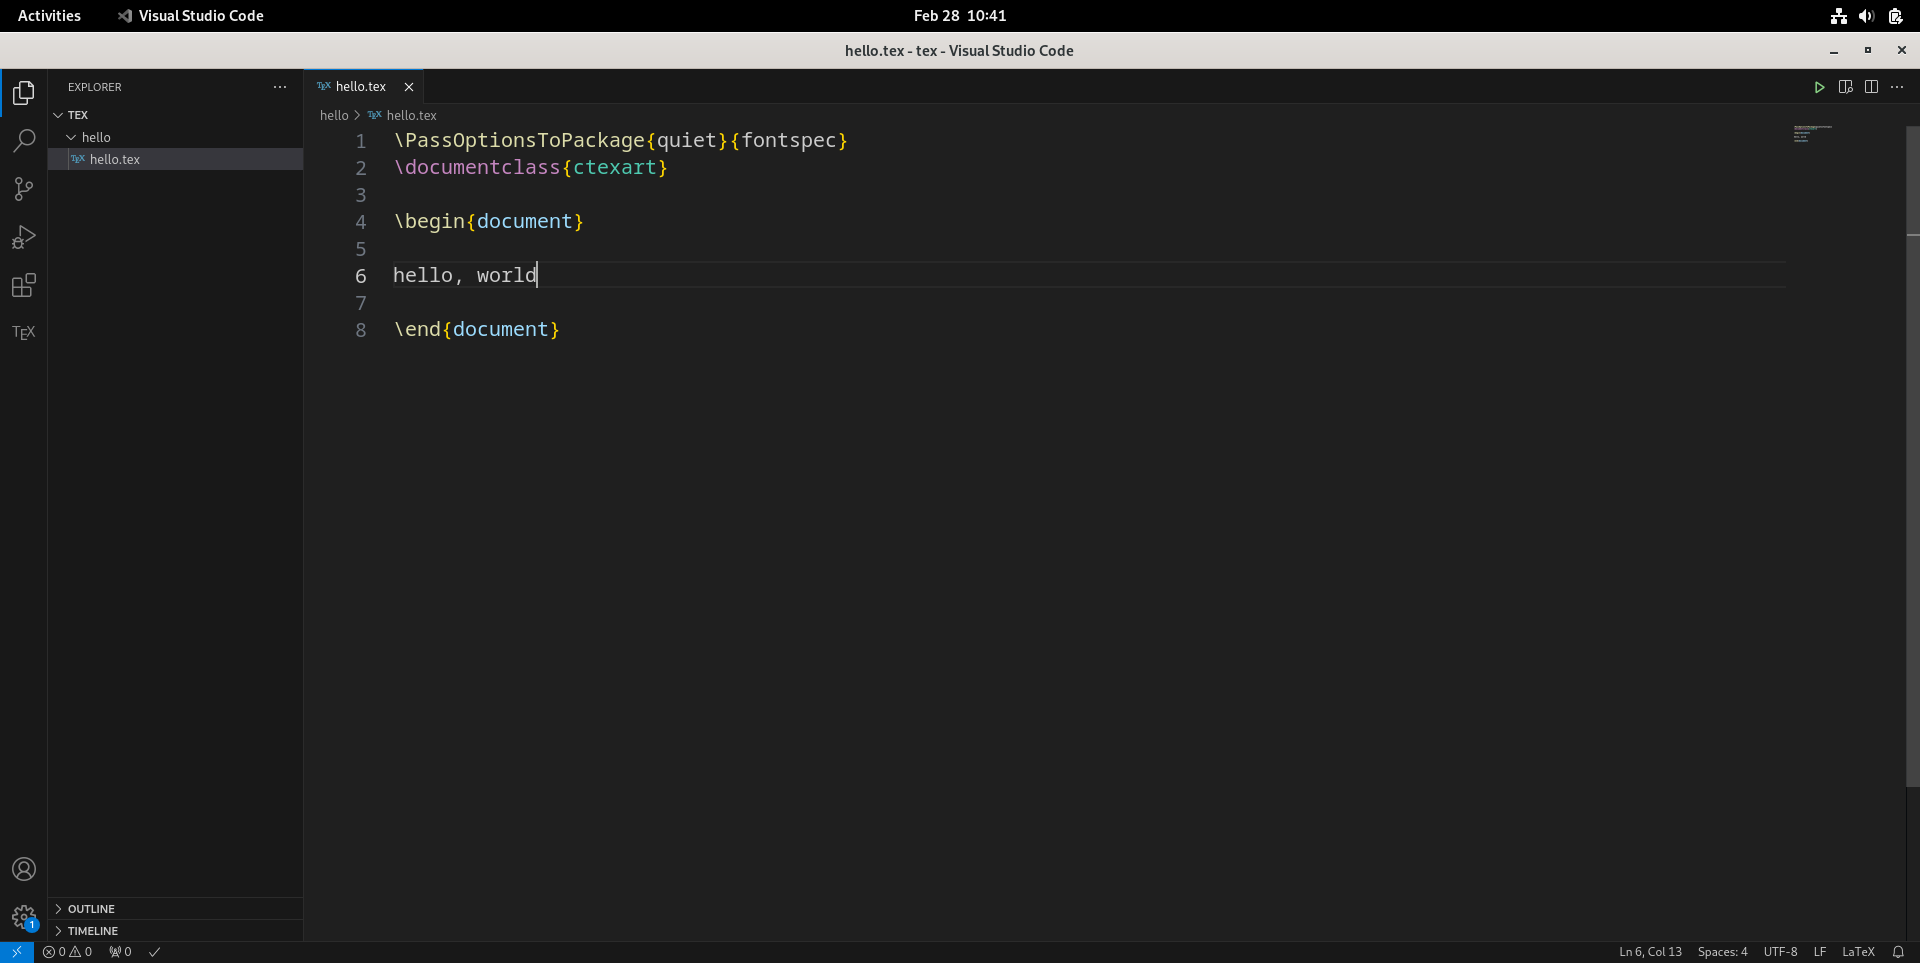
- 按Ctrl+Alt+B键,生成
hello.pdf;再按Ctrl+Alt+V键,查看生成的pdf。如果能正常生成,则环境配置成功。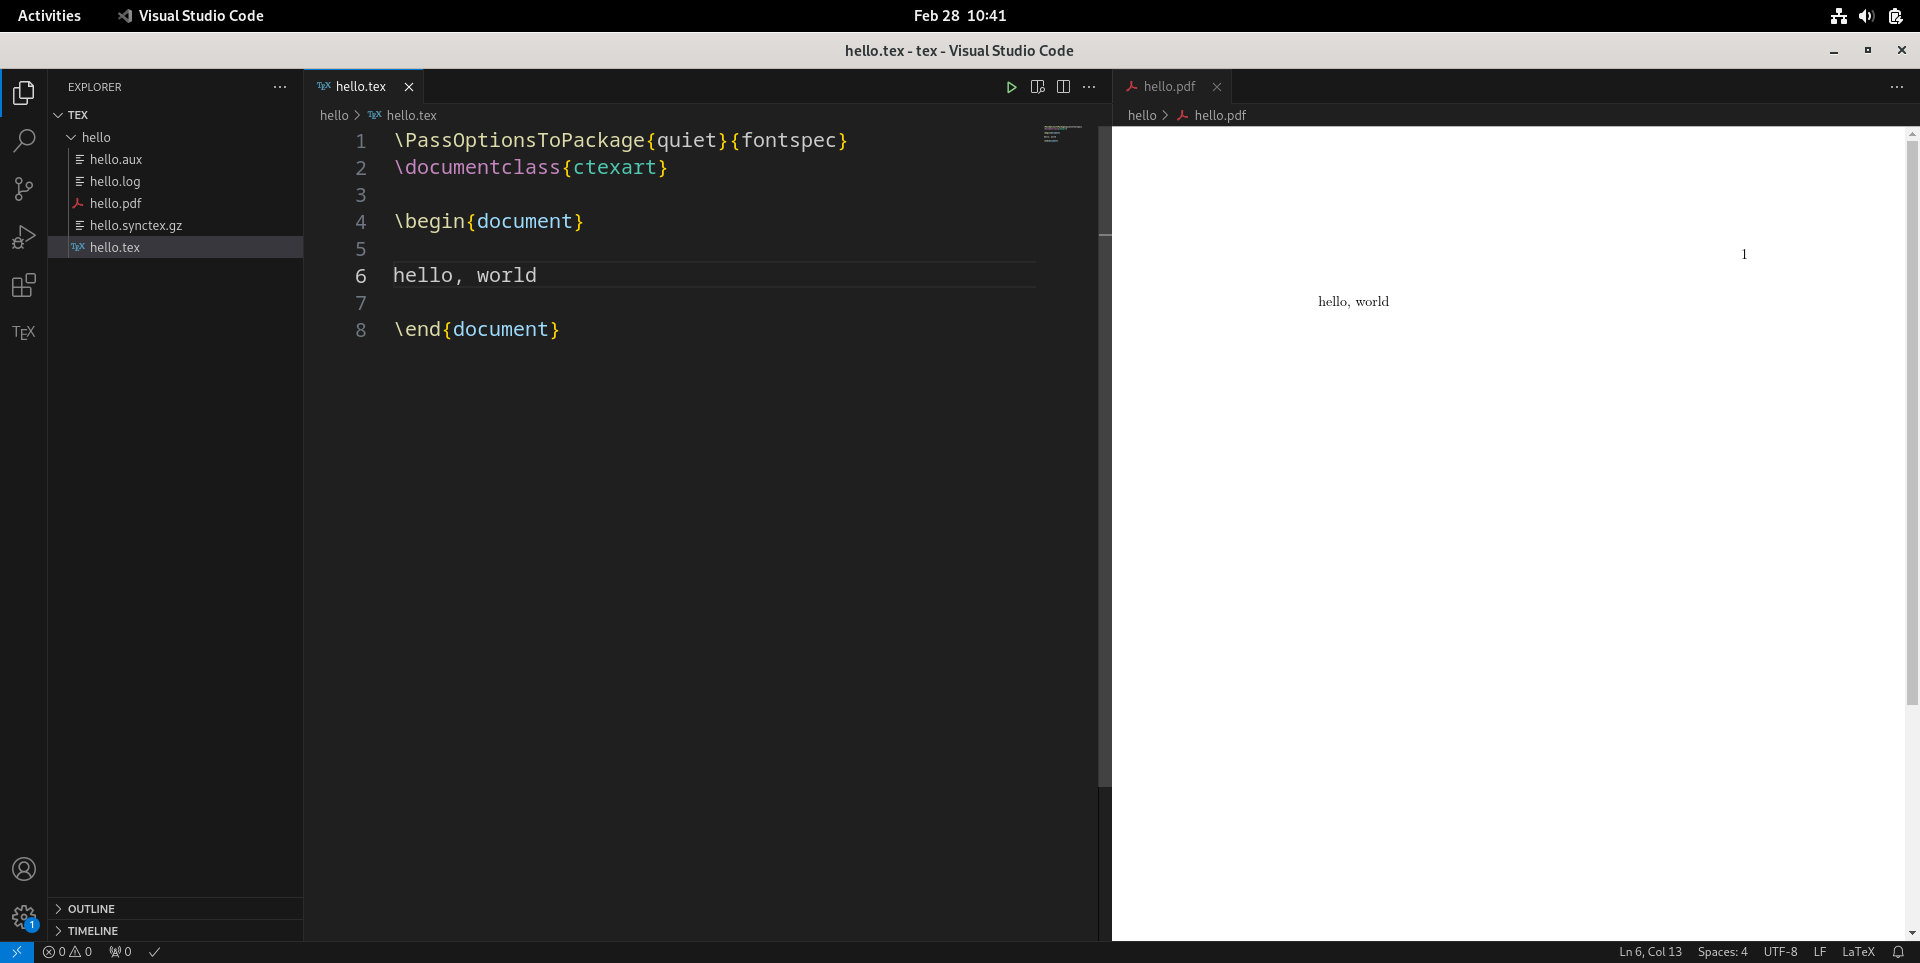
macOS
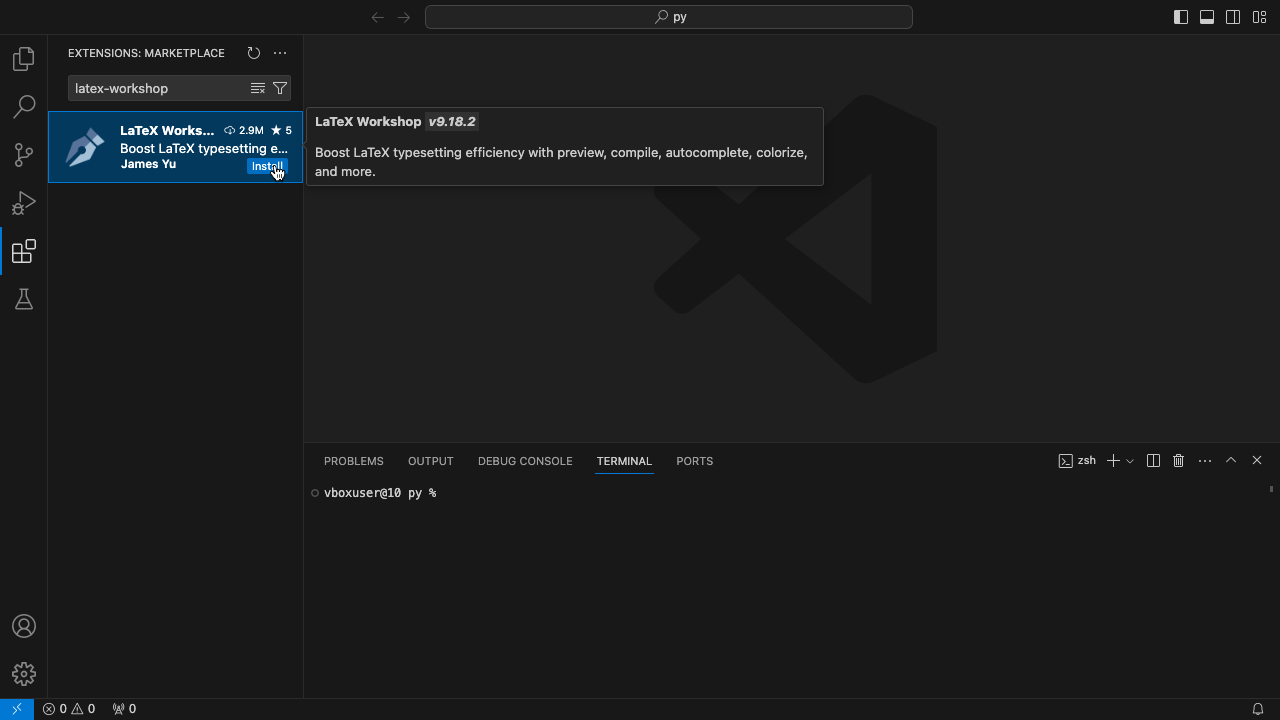
- 按Cmd+Shift+X键,搜索“latex-workshop”插件并点击“Install”安装。
- 按Cmd+O“打开文件夹”(Open Folder),选择或新建一个文件夹,作为用LaTeX写文章的工作区(workspace)。这里以Linux系统下的
~/Documents/tex为例。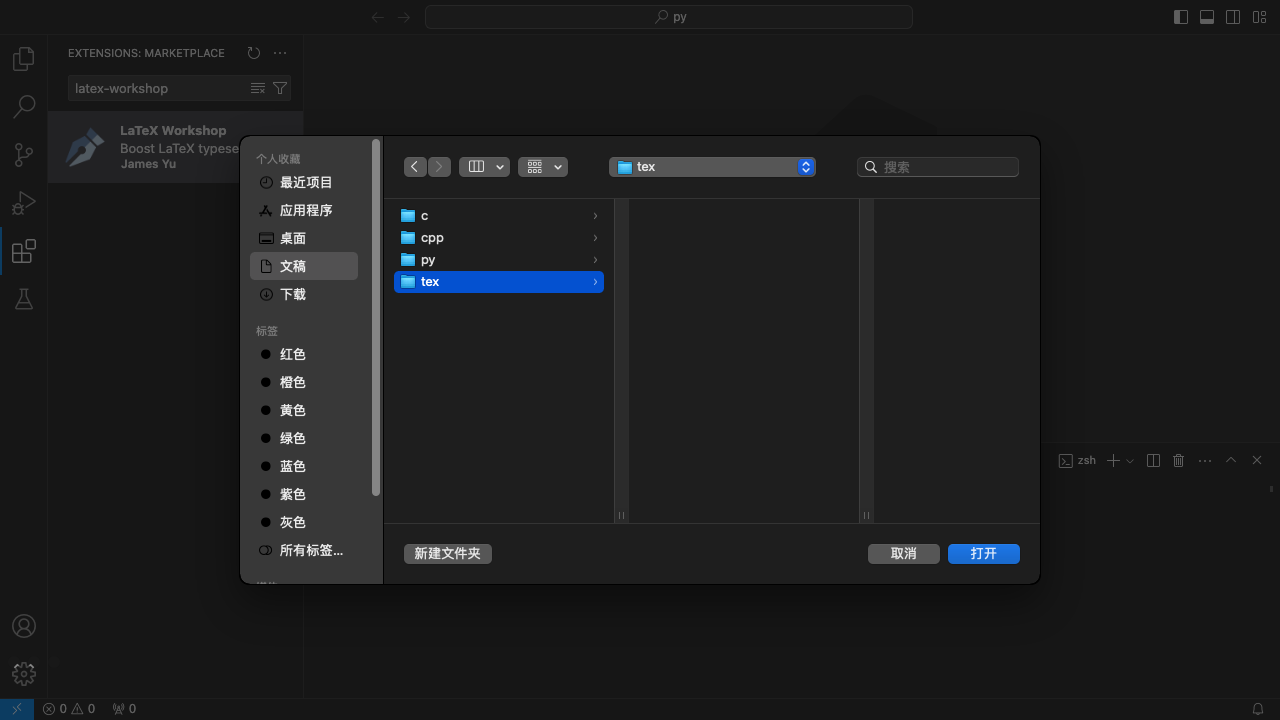
- 按Cmd+Comma(逗号)键,打开设置(settings),点击右上角最左边图标,打开
settings.json。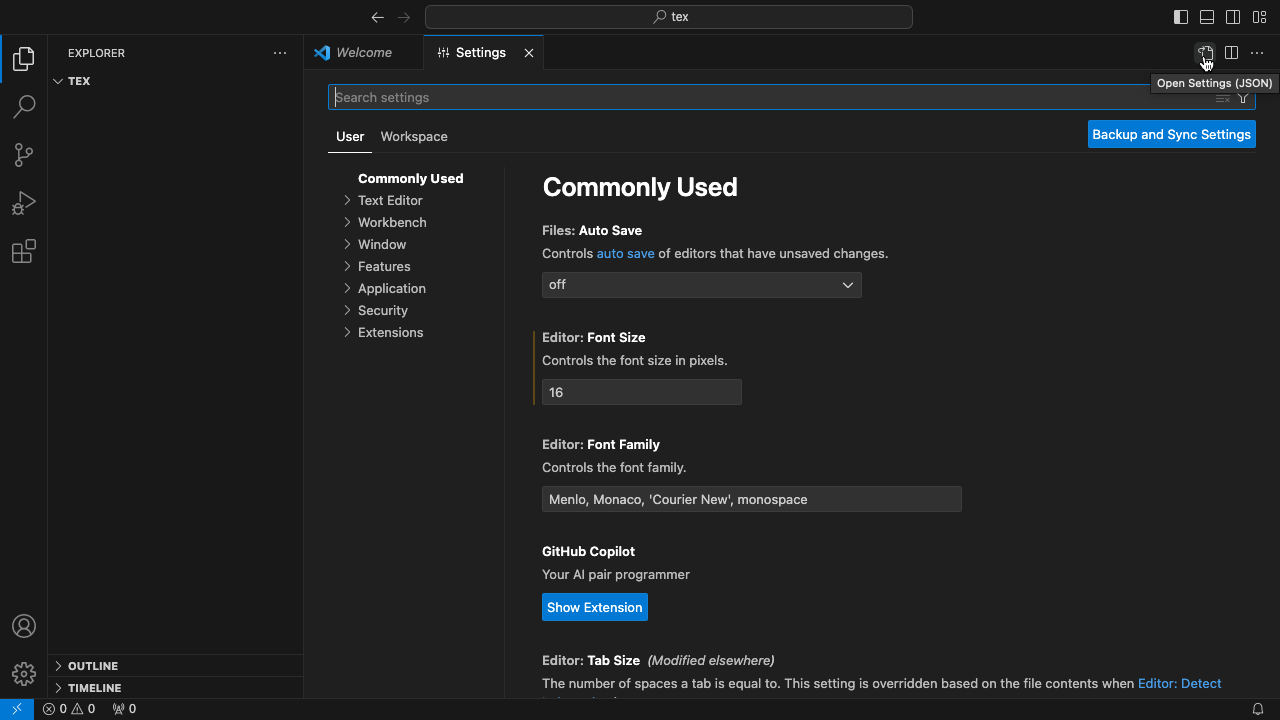
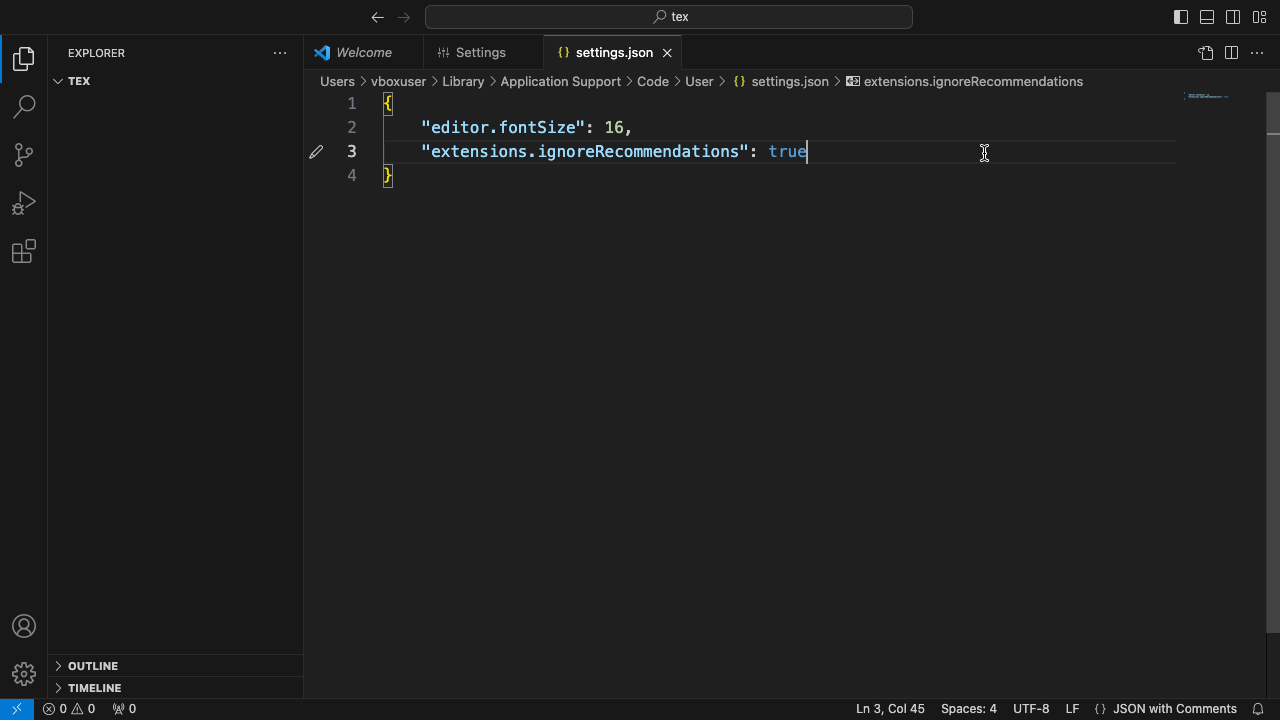
- 如果最后一条配置末尾没有逗号,就在末尾加一个英文逗号“
,”。
- 在
settings.json的大括号里添加如下代码(注意缩进)然后按Cmd+S保存。1
2
3
4
5
6
7
8
9
10
11
12
13
14
15
16
17
18
19
20
21
22
23
24
25
26
27
28
29
30
31
32
33
34
35
36
37
38
39
40
41
42
43
44
45
46
47
48
49
50
51
52
53
54
55
56
57
58
59
60
61
62
63
64
65
66
67
68
69"latex-workshop.view.pdf.viewer": "tab",
"latex-workshop.message.error.show": false,
"latex-workshop.message.warning.show": false,
"latex-workshop.latex.tools": [
{
"name": "xelatex",
"command": "xelatex",
"args": [
"-synctex=1",
"-interaction=nonstopmode",
"-file-line-error",
"%DOCFILE%",
],
},
{
"name": "pdflatex",
"command": "pdflatex",
"args": [
"-synctex=1",
"-interaction=nonstopmode",
"-file-line-error",
"%DOCFILE%",
],
},
{
"name": "bibtex",
"command": "bibtex",
"args": [
"%DOCFILE%",
],
},
],
"latex-workshop.latex.recipes": [
{
"name": "xelatex",
"tools": [
"xelatex",
],
},
{
"name": "pdflatex",
"tools": [
"pdflatex",
],
},
{
"name": "xe->bib->xe->xe",
"tools": [
"xelatex",
"bibtex",
"xelatex",
"xelatex",
],
},
{
"name": "pdf->bib->pdf->pdf",
"tools": [
"pdflatex",
"bibtex",
"pdflatex",
"pdflatex",
],
},
],
"latex-workshop.latex.autoBuild.run": "onFileChange",
"latex-workshop.hover.preview.maxLines": 10,
"latex-workshop.bibtex-format.trailingComma": true,
"latex-workshop.bibtex-format.tab": "2 spaces",
"latex-workshop.intellisense.unimathsymbols.enabled": true,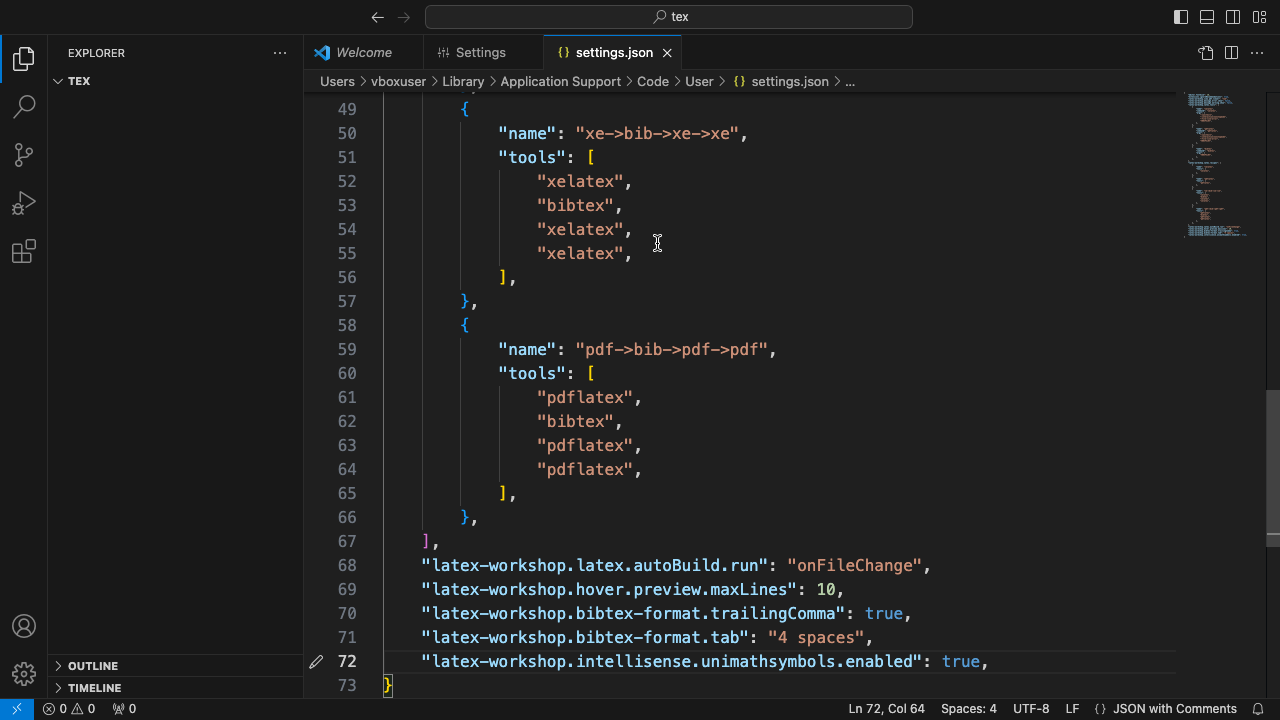
- 在工作区新建一个子文件夹
hello,在里面新建一个文件hello.tex,随便写点东西,比如然后按Cmd+S保存。1
2
3
4
5
6
7
8\PassOptionsToPackage{quiet}{fontspec}
\documentclass{ctexart}
\begin{document}
hello, world
\end{document}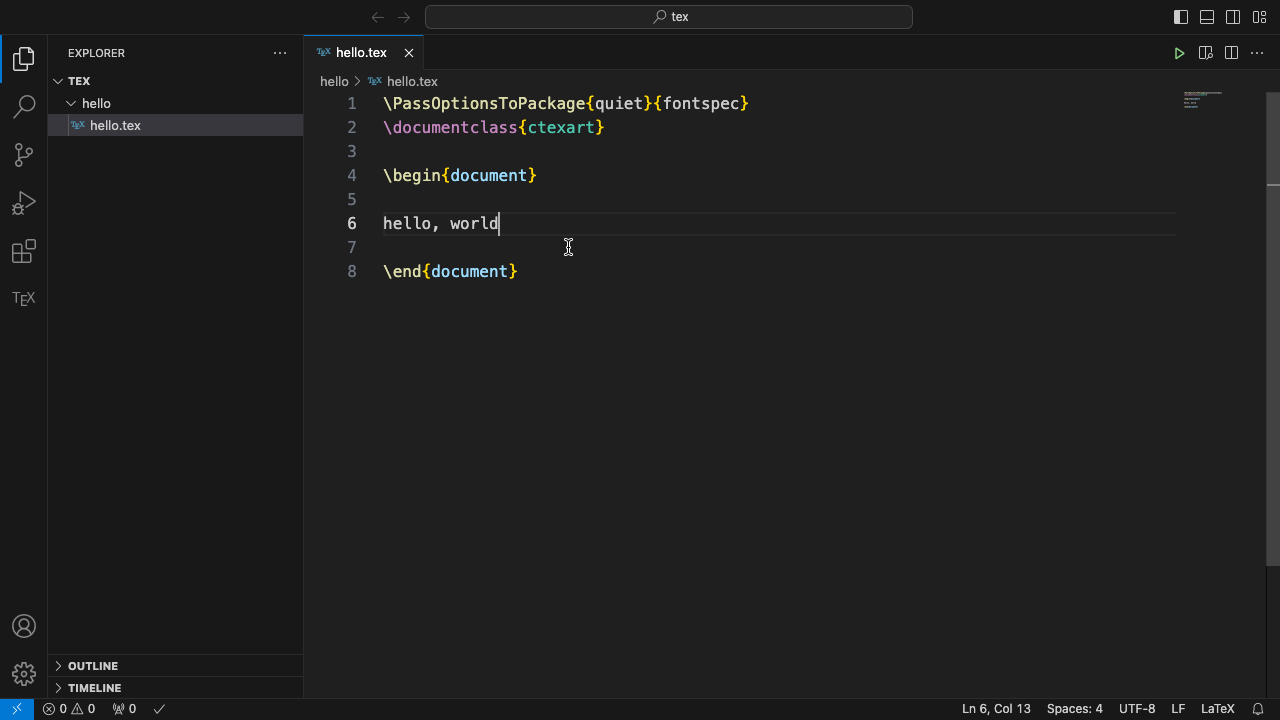
- 按Cmd+Option+B键,生成
hello.pdf;再按Cmd+Option+V键,查看生成的pdf。如果能正常生成并显示,则环境配置成功。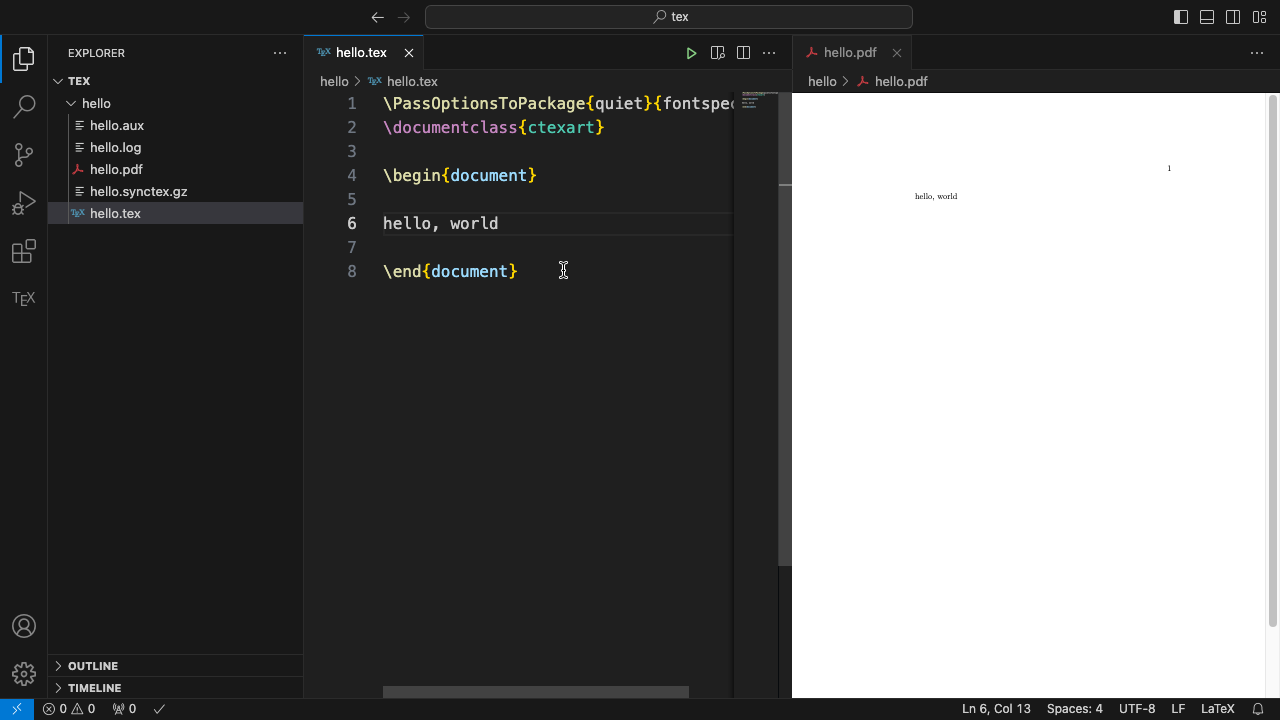
小提示
点击左侧边栏的“TEX”图标,看到左边出现这样的页面。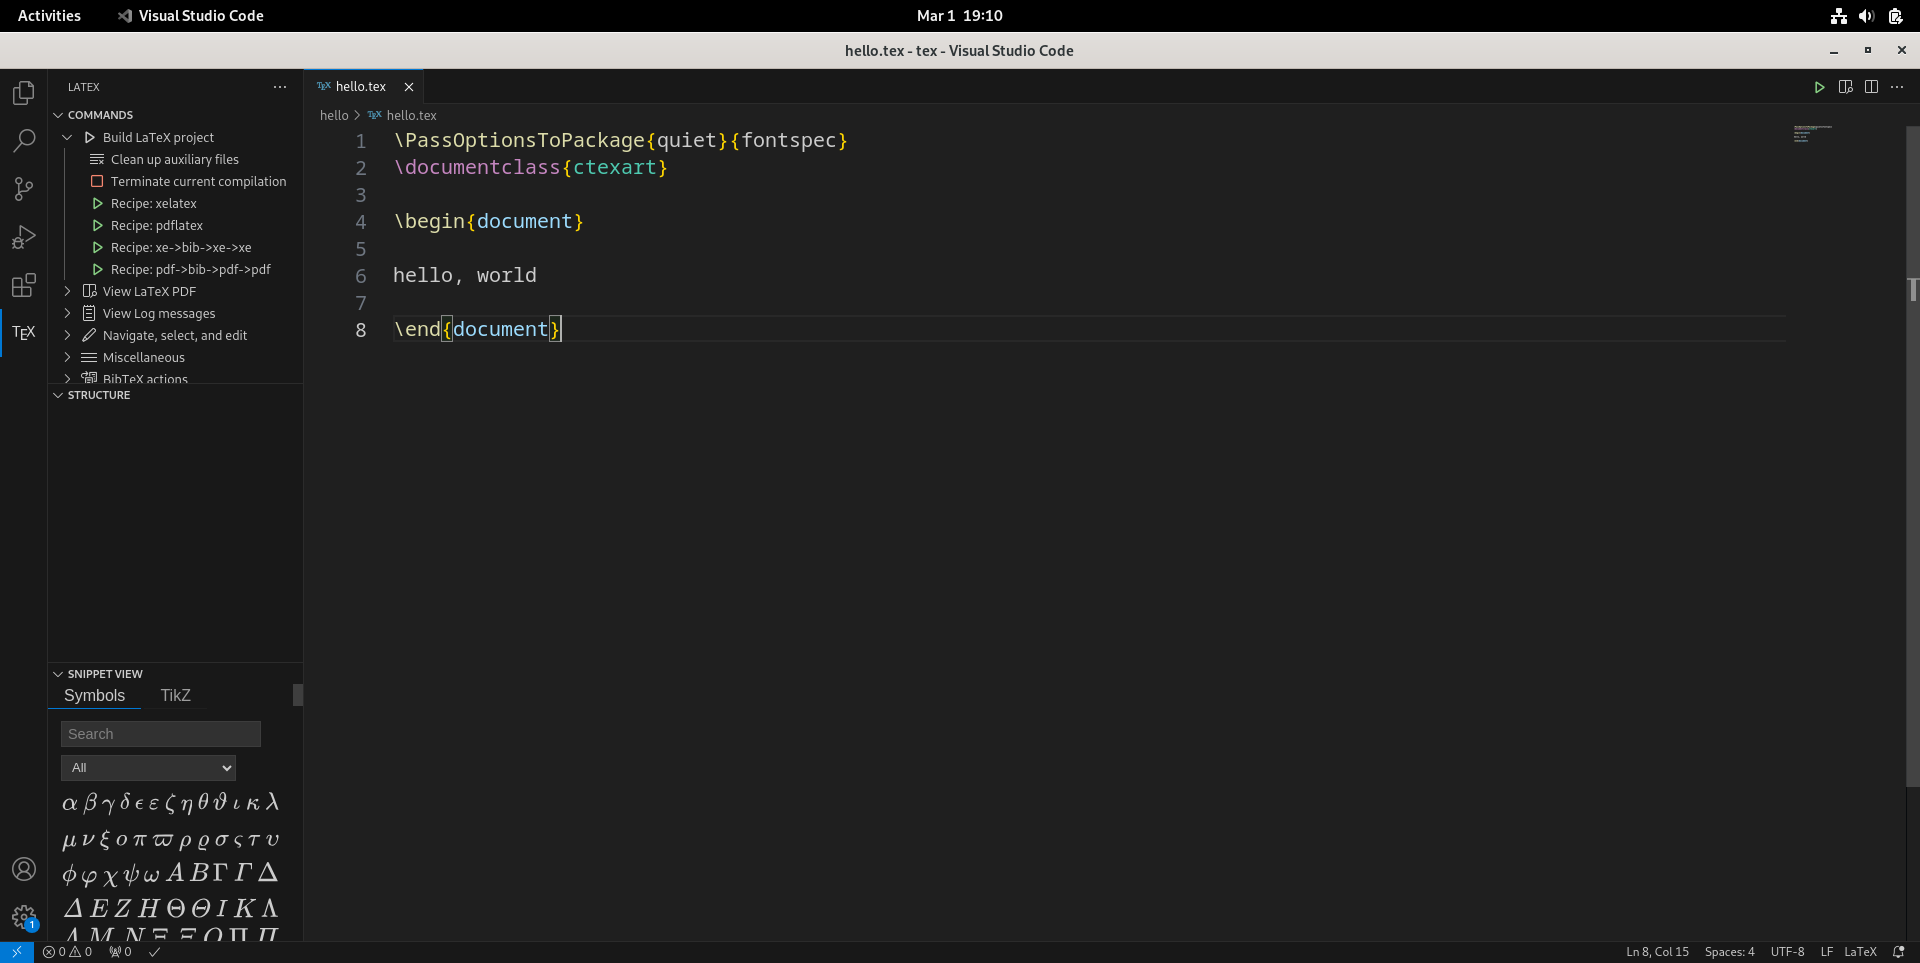
- 展开第一项“Build LaTeX project”(构建LaTeX项目),里面有几个菜谱(recipe,这里是指构建pdf的步骤。抱歉我没查到太好的中文说法,但我觉得既然menu可以是菜单,那这个recipe说成菜谱也没啥问题吧——吃货是这样的),点击可以执行相应的步骤构建pdf。比如说,如果用了BibTeX,就需要用
xe->bib->xe->xe构建pdf:点击Recipe: xe->bib->xe->xe即可。 - 左下角有“Snippet View”。刚接触LaTeX的新手,对某些特殊符号和字体可能还不太熟,可以在这个视图里面找到想打的符号,点击,对应的LaTeX代码就会上屏。个人建议记一下常用的符号和命令,可以明显提高输入效率。
词汇表
| 英文 | 中文 |
|---|---|
| build | 构建 |
| comma | 逗号 |
| extension | 插件 |
| folder | 文件夹 |
| install | 安装 |
| menu | 菜单 |
| project | 项目 |
| recipe | 菜谱 |
| settings | 设置 |
| snippet | 代码段 |
| symbol | 符号 |
| terminate | 终止 |
| view | 视图 |
| workspace | 工作区 |