Hexo博客如何切换为NexT主题
省流:先用npm安装hexo-theme-next,修改_config.yml,然后编辑_config.next.yml。
上回说到
先创建一个Hexo本地仓库,并将其部署上线,如果还没整好,可以看这篇文章部署到GitHub Pages上。本文以.表示Hexo本地仓库的路径。
技术准备
假设准备搭建个人博客的读者已经学会或可以做到:
- 用Shell在自己的电脑上执行命令;
- 了解YAML的基本语法;
- 阅读(或借助翻译阅读)简单的英文技术文档。
安装并应用NexT主题
- 清理掉
./db.json和./public文件夹里的静态文件:在Shell执行1
hexo clean
- 安装NexT主题模块:在Shell执行
1
npm install hexo-theme-next
- 打开
./_config.yml,把里面默认的改为1
2
3
4# Extensions
## Plugins: https://hexo.io/plugins/
## Themes: https://hexo.io/themes/
theme: landscape1
2
3
4# Extensions
## Plugins: https://hexo.io/plugins/
## Themes: https://hexo.io/themes/
theme: next
编辑NexT主题配置文件
以下只列出几个比较有代表性的,其他配置项可以参考官方文档。很遗憾,截至本页面最近一次更新,NexT官方文档还没有中文版,阅读英文有困难的小伙伴可以借助翻译网站。期待某位热心人翻译一份,功在当代,利在千秋。
- 找到
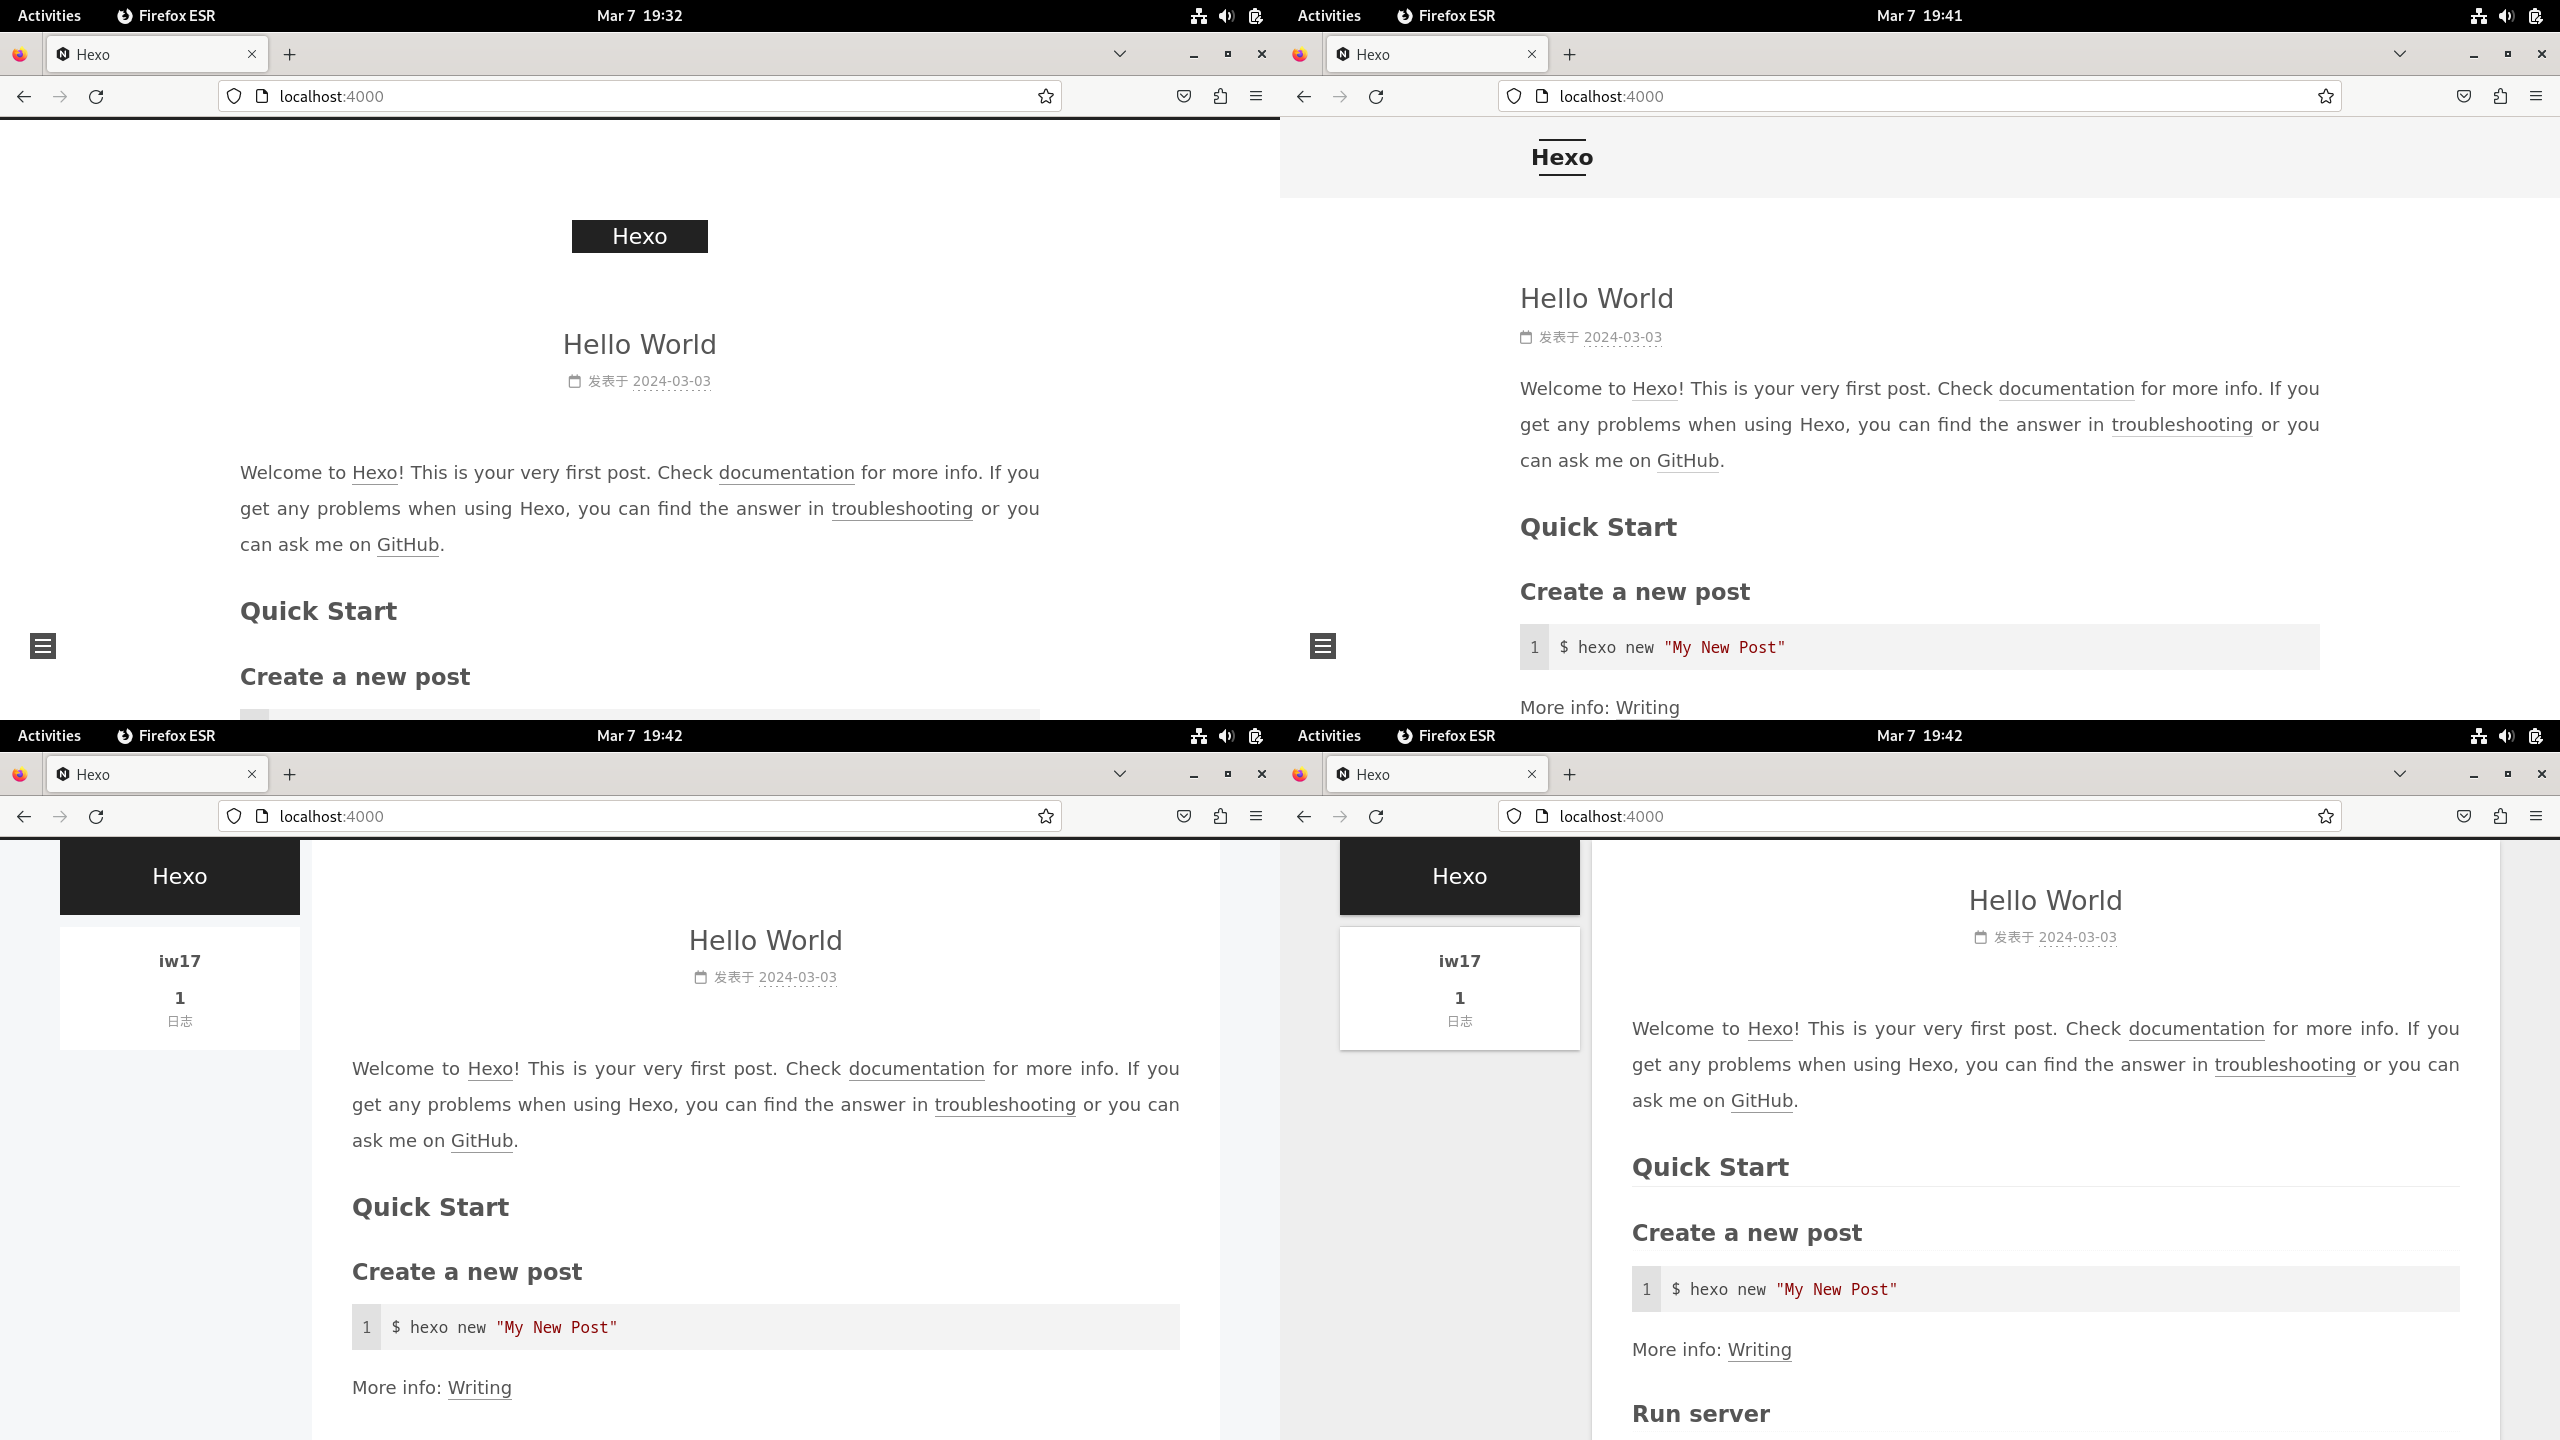
./node_modules/hexo-next-config/_config.yml,把它复制到本地仓库目录下,并重命名为_config.next.yml(请注意粘贴时不要覆盖原有的_config.yml),然后删除./_config.landscape.yml。这里的_config.yml是Hexo本地仓库的配置文件,_config.next.yml是NexT主题的配置文件。 - 选择NexT主题的样式。NexT提供四种样式:Muse(左上)、Mist(右上)、Pisces(左下)、Gemini(右下)。
_config.next.yml默认采用Muse样式,如果想修改(以本站采用Pisces为例),找到里面的改为1
2
3
4
5# Schemes
scheme: Muse
#scheme: Mist
#scheme: Pisces
#scheme: Gemini1
2
3
4
5# Schemes
#scheme: Muse
#scheme: Mist
scheme: Pisces
#scheme: Gemini
- 为了保护访客的眼睛,建议开启深色模式:将
_config.next.yml里面的改为1
2# Dark Mode
darkmode: false1
2# Dark Mode
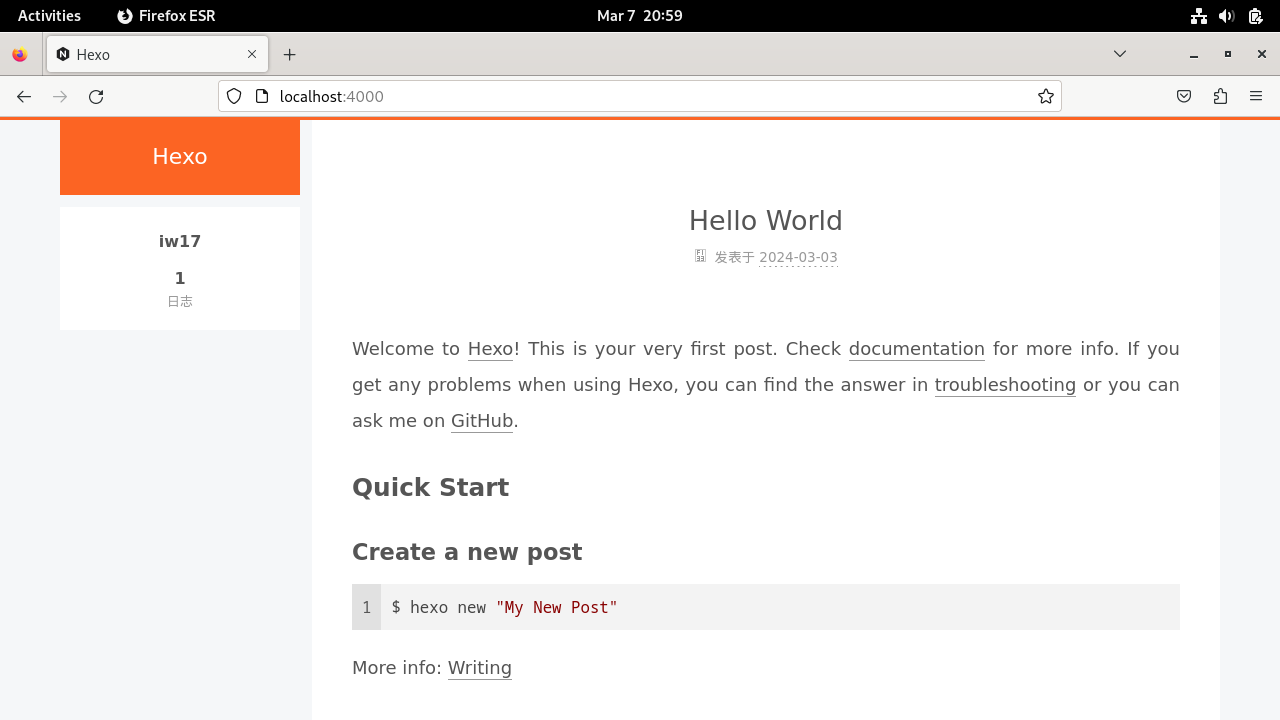
darkmode: true - 我不得不吐槽一句,NexT主题的默认配色也太肃穆了点。个人网站应该接地气,但不应该接地府。如果你也跟我有同感,可以修改顶部面板颜色:找到
_config.next.yml里面的把两个1
2
3
4# Browser header panel color.
theme_color:
light: "#222"
dark: "#222"#222分别改成浅色和深色模式下想要的顶部面板颜色(RGB格式)。后面还会不太详细地讲解如何把页面其他部分的颜色也换成更鲜明的。比如本站换成了1
2
3
4# Browser header panel color.
theme_color:
light: "#fc6423"
dark: "#e34603"
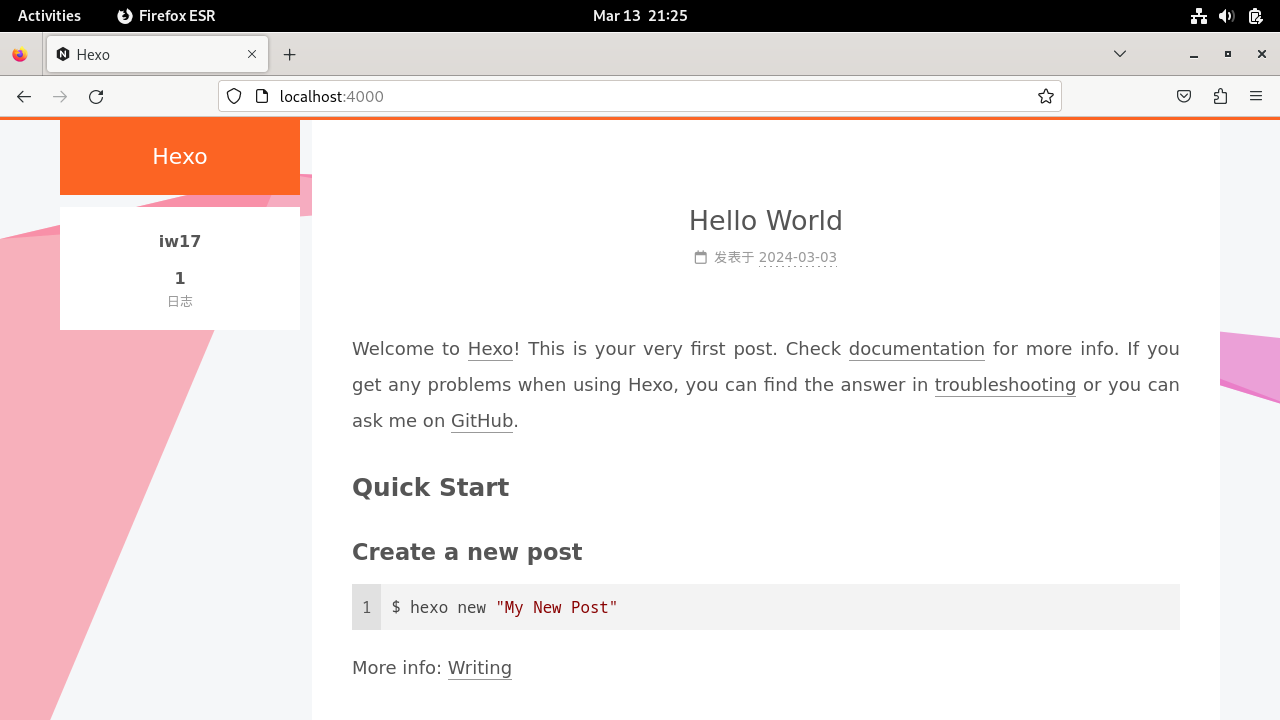
- 还可以像本站一样,给背景加一条彩带:将
_config.next.yml里面的改为1
2
3
4# Generate a ribbon in your website with HTML5 canvas.
# For more information: https://github.com/hustcc/ribbon.js
canvas_ribbon:
enable: false1
2
3
4# Generate a ribbon in your website with HTML5 canvas.
# For more information: https://github.com/hustcc/ribbon.js
canvas_ribbon:
enable: true
- 美观起见,建议在相连的中文和英文之间加一个空格:找到
_config.next.yml里面的改为1
2
3
4# Automatically insert whitespace between CJK and half-width characters.
# For more information: https://github.com/vinta/pangu.js
# Server-side plugin: https://github.com/next-theme/hexo-pangu
pangu: false1
2
3
4# Automatically insert whitespace between CJK and half-width characters.
# For more information: https://github.com/vinta/pangu.js
# Server-side plugin: https://github.com/next-theme/hexo-pangu
pangu: true - 其他配置项的作用,以及如何修改、修改了之后有哪些影响,详见
_config.next.yml文件里的注释和官方文档。修改好以后,清除之前生成的静态文件,重新生成,然后启动本地服务器,预览博客页面:在Shell执行预览后如果没问题就部署上线:在Shell执行1
hexo clean && hexo g && hexo s
1
hexo d
词汇表
| 英文 | 中文 |
|---|---|
| canvas | 画布 |
| config | 配置 |
| dark | 深色的 |
| enable | 启用 |
| install | 安装 |
| light | 浅色的 |
| mode | 模式 |
| ribbon | 丝带 |
| scheme | 样式 |
| theme | 主题 |